Checklist
Checklists help teams run inspections with the same standards every time. When you choose the right question type and set clear guidance and photo rules, inspectors can answer faster and more consistently in the field.
If you already have an inspection standard or work procedure, you can upload it first in Create a Checklist with AI and start from a generated draft.
Image placeholder: checklist list page or create button
What to decide before you create a checklist
It helps to settle a few points first before building the checklist.
- What task or inspection this checklist is for
- What order the inspector will answer questions on site
- Which questions must always be answered
- Which items need photo evidence
- Whether the questions should be grouped into sections
For example, a daily facility inspection checklist is easier to use when sections follow the real workflow, such as Appearance, Operation, and Wrap-up.
Create a checklist step by step
- Open the checklist creation page.
- Enter the checklist name and basic details.
- Add sections if you want to group questions.
- Add questions to each section and choose the question type.
- Set the inspection guide, required answer option, and photo option for each question.
- Review the full flow and save.
Image placeholder: full checklist creation screen
Group questions with sections
Sections help you organize related questions into clear groups. The more questions you have, the more useful sections become for both inspectors and members who maintain the checklist later.
These section ideas work well in practice.
- Before starting
- On-site condition check
- Issue confirmation
- Follow-up action and notes

Six question types
Each question can use a different answer format depending on what you need to collect.
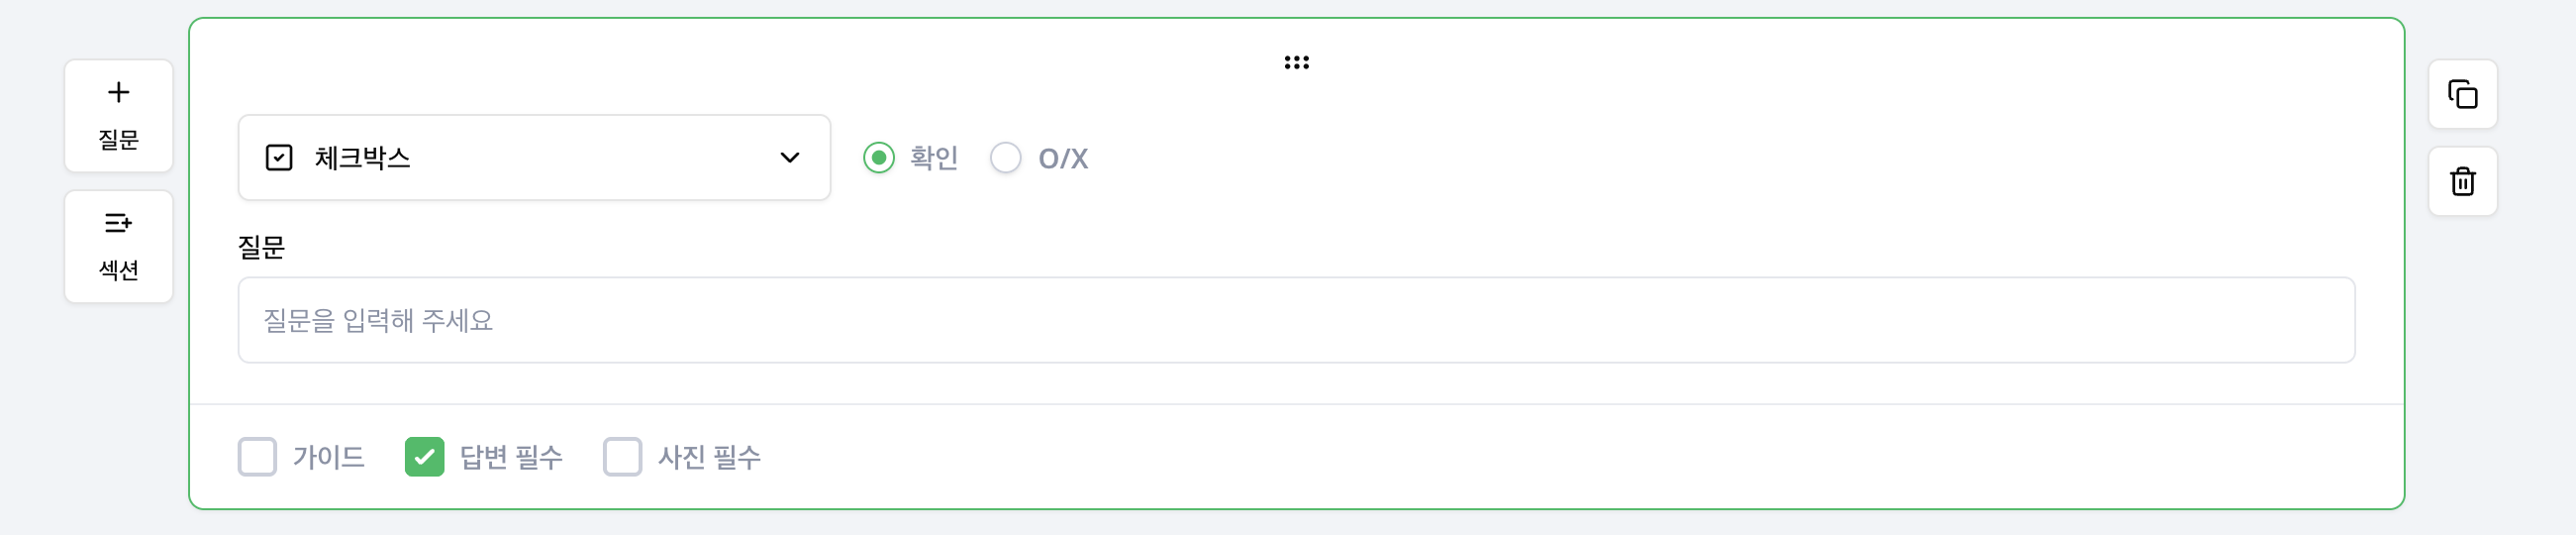
1. Checkbox
Use this when you only need a quick confirmation. Choose Check for a simple confirmation, or O/X to record a pass/fail result.
Good examples:
- Protective gear worn
- Valve locked
- Abnormal condition found
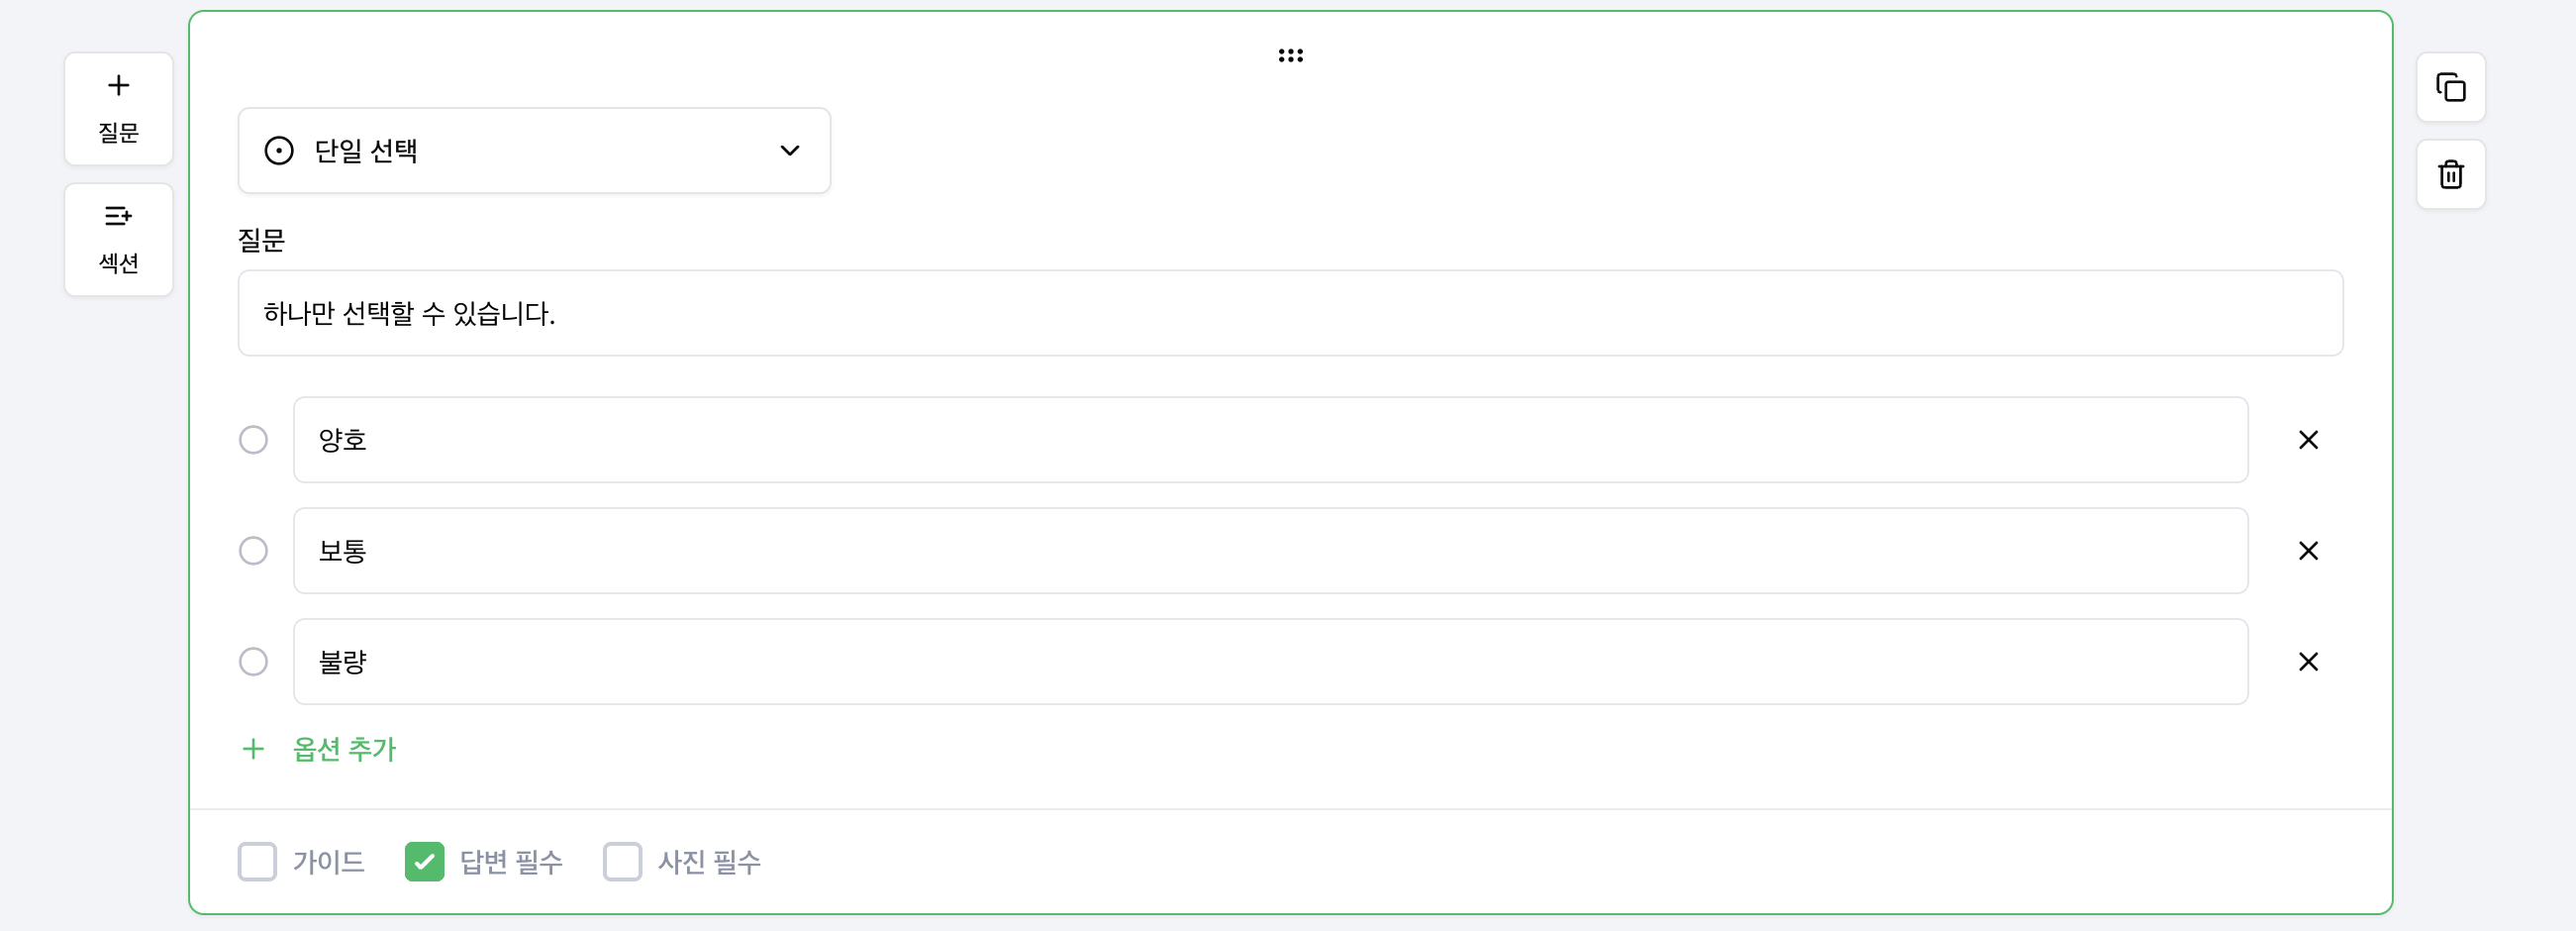
2. Single choice
Use this when the inspector should pick only one option. It works well for status questions that need one clear result.
Example options:
- Good
- Normal
- Poor
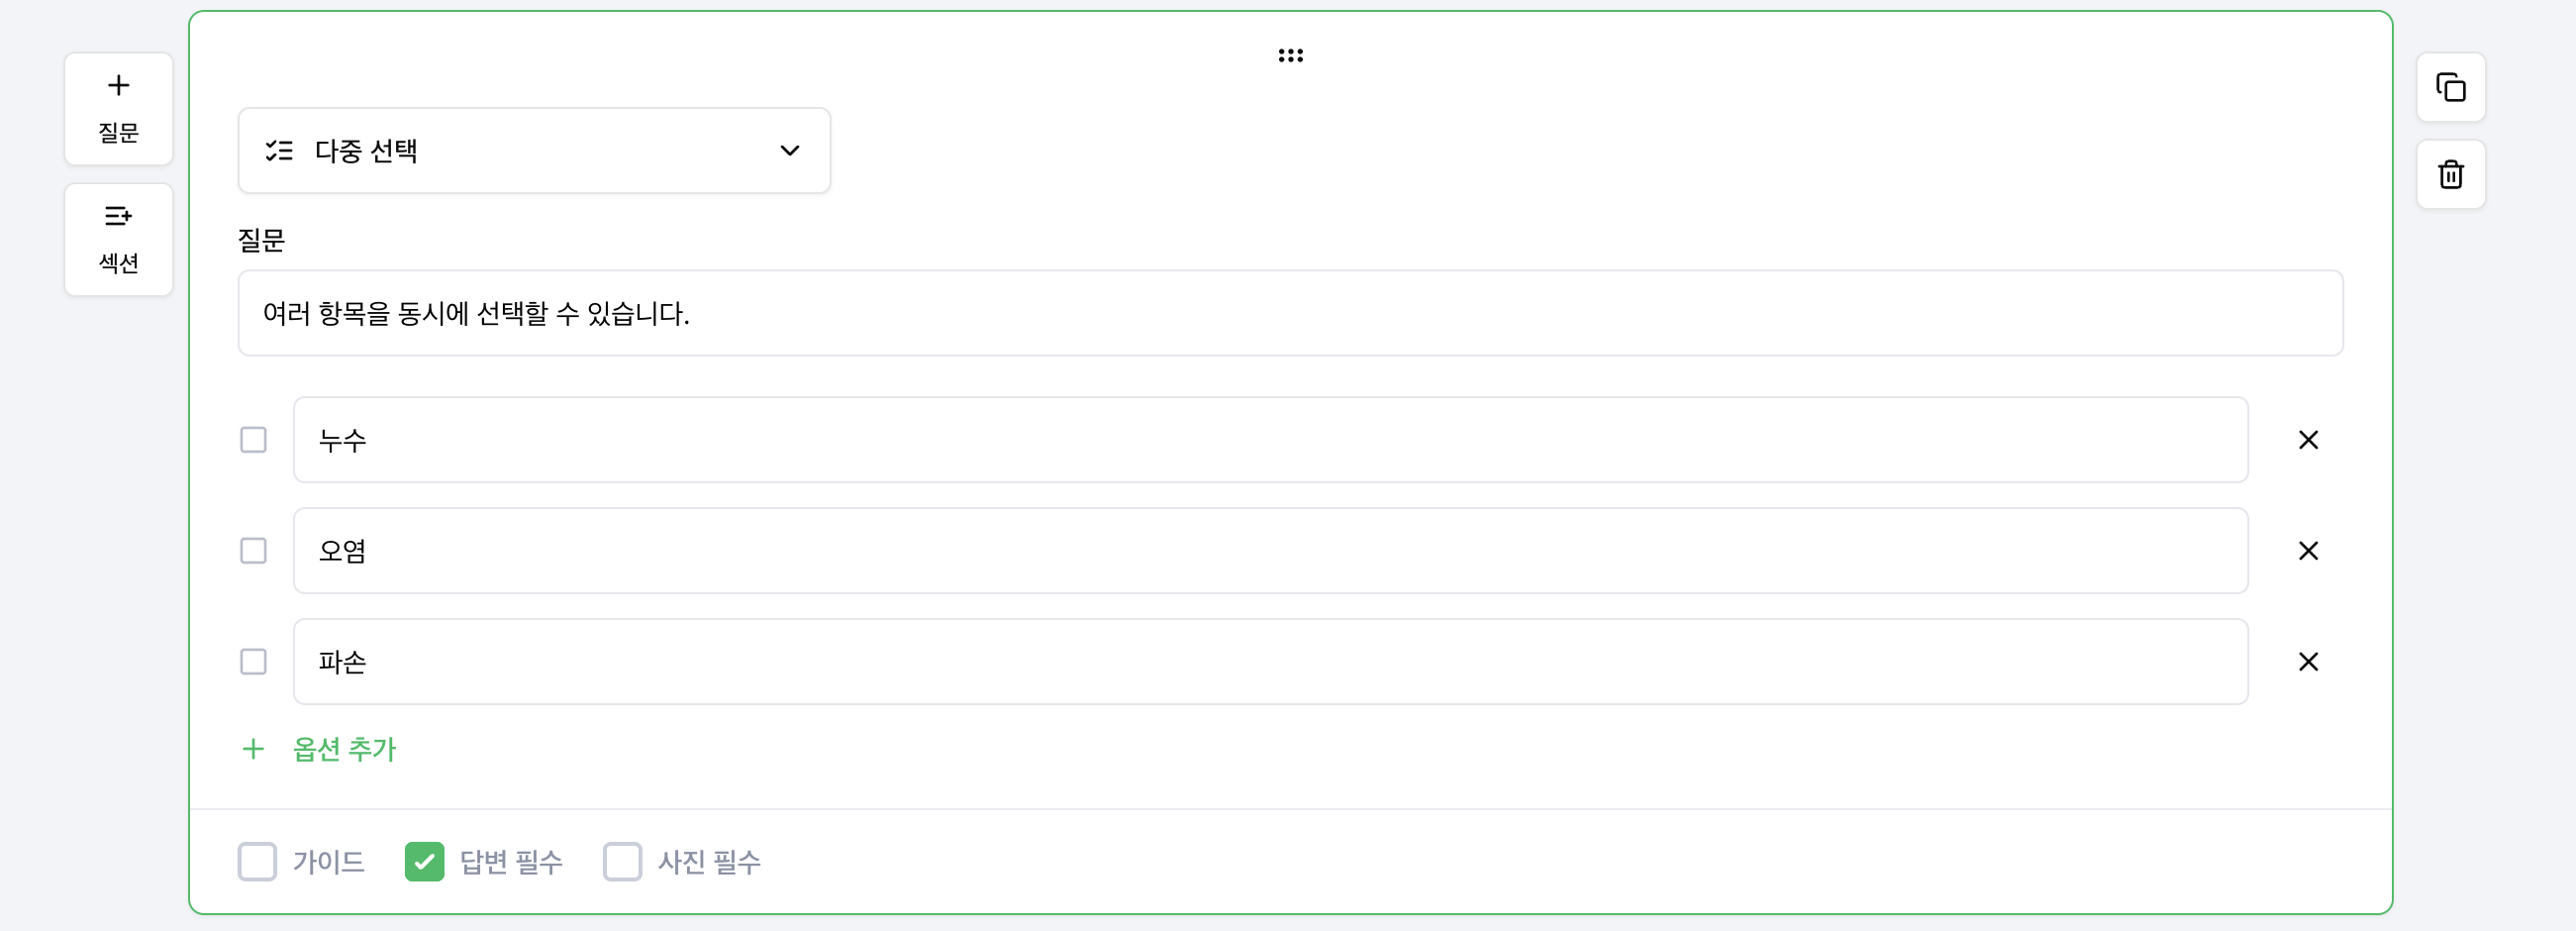
3. Multiple choice
Use this when more than one answer may apply. This is useful for recording multiple causes, symptoms, or actions.
Example options:
- Leak
- Contamination
- Damage
- Loose fixing
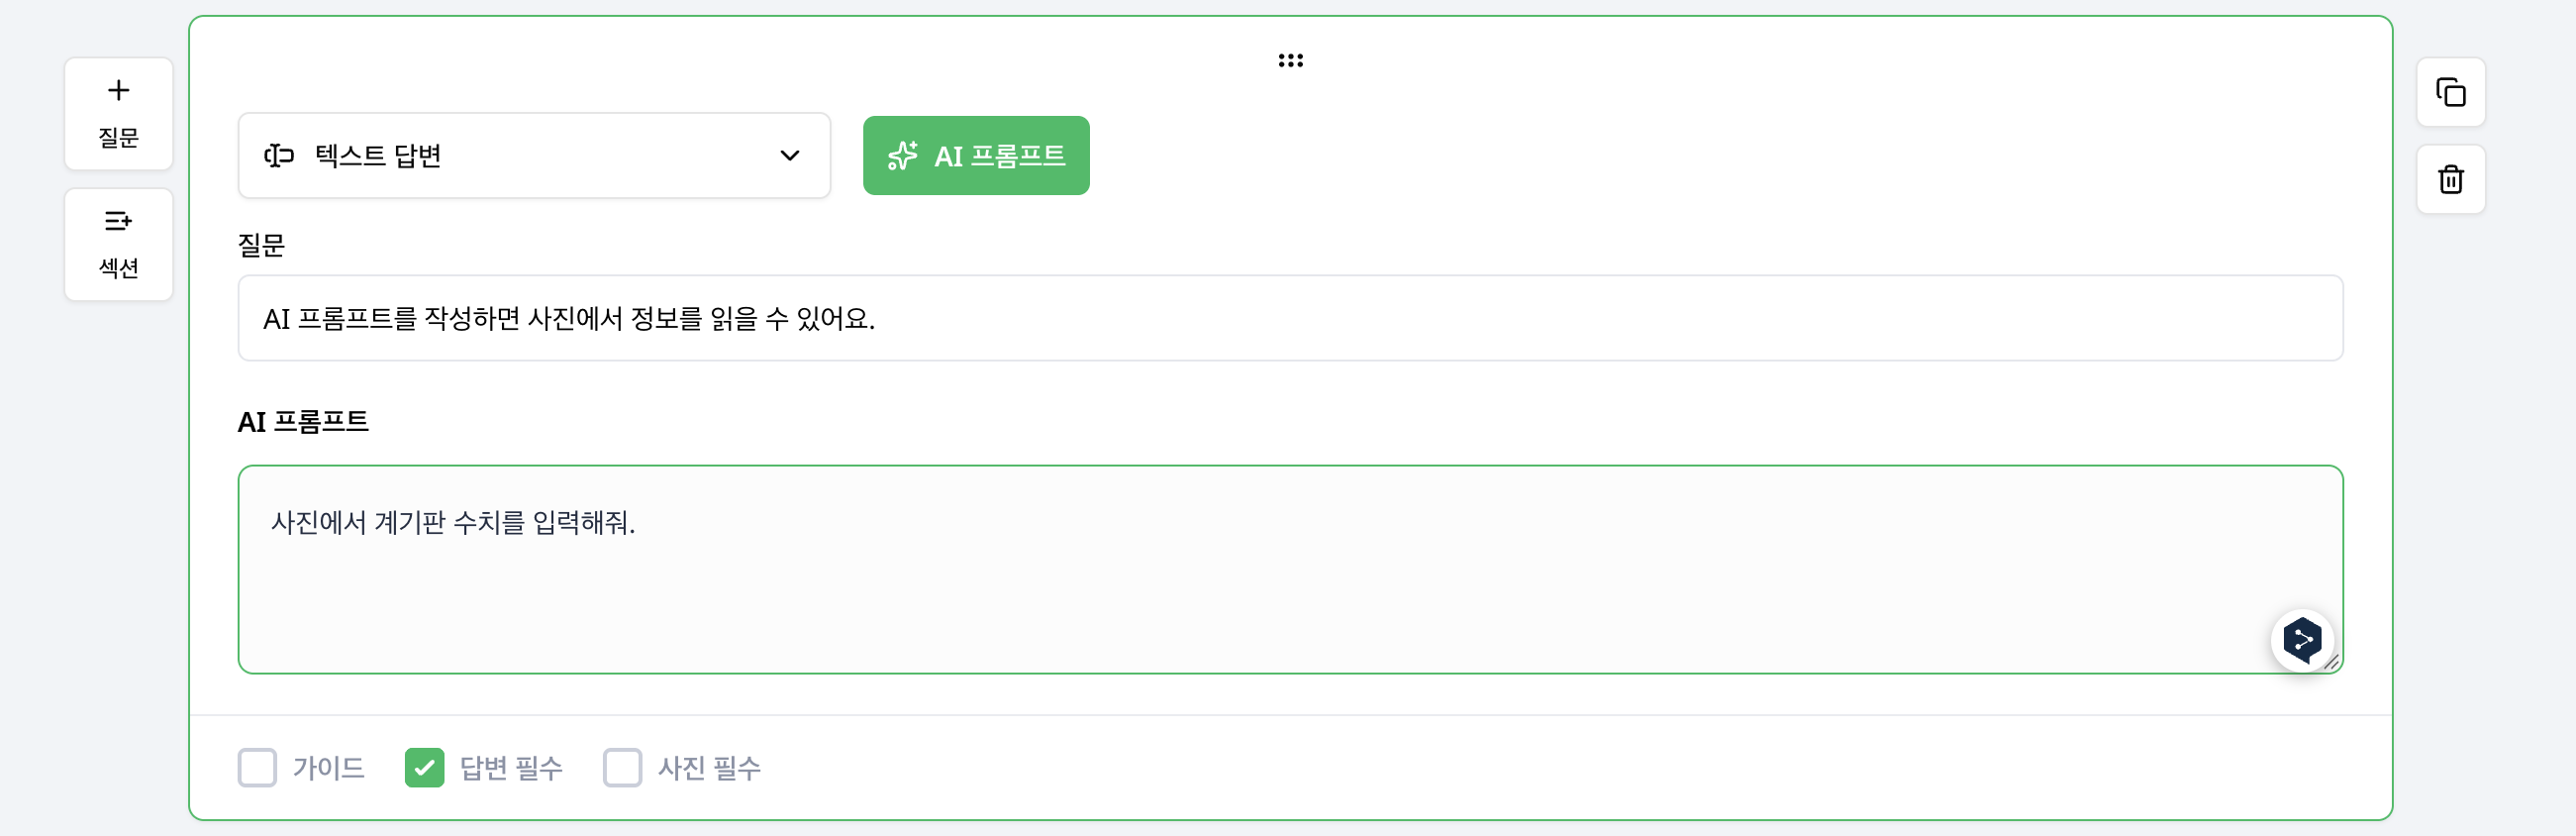
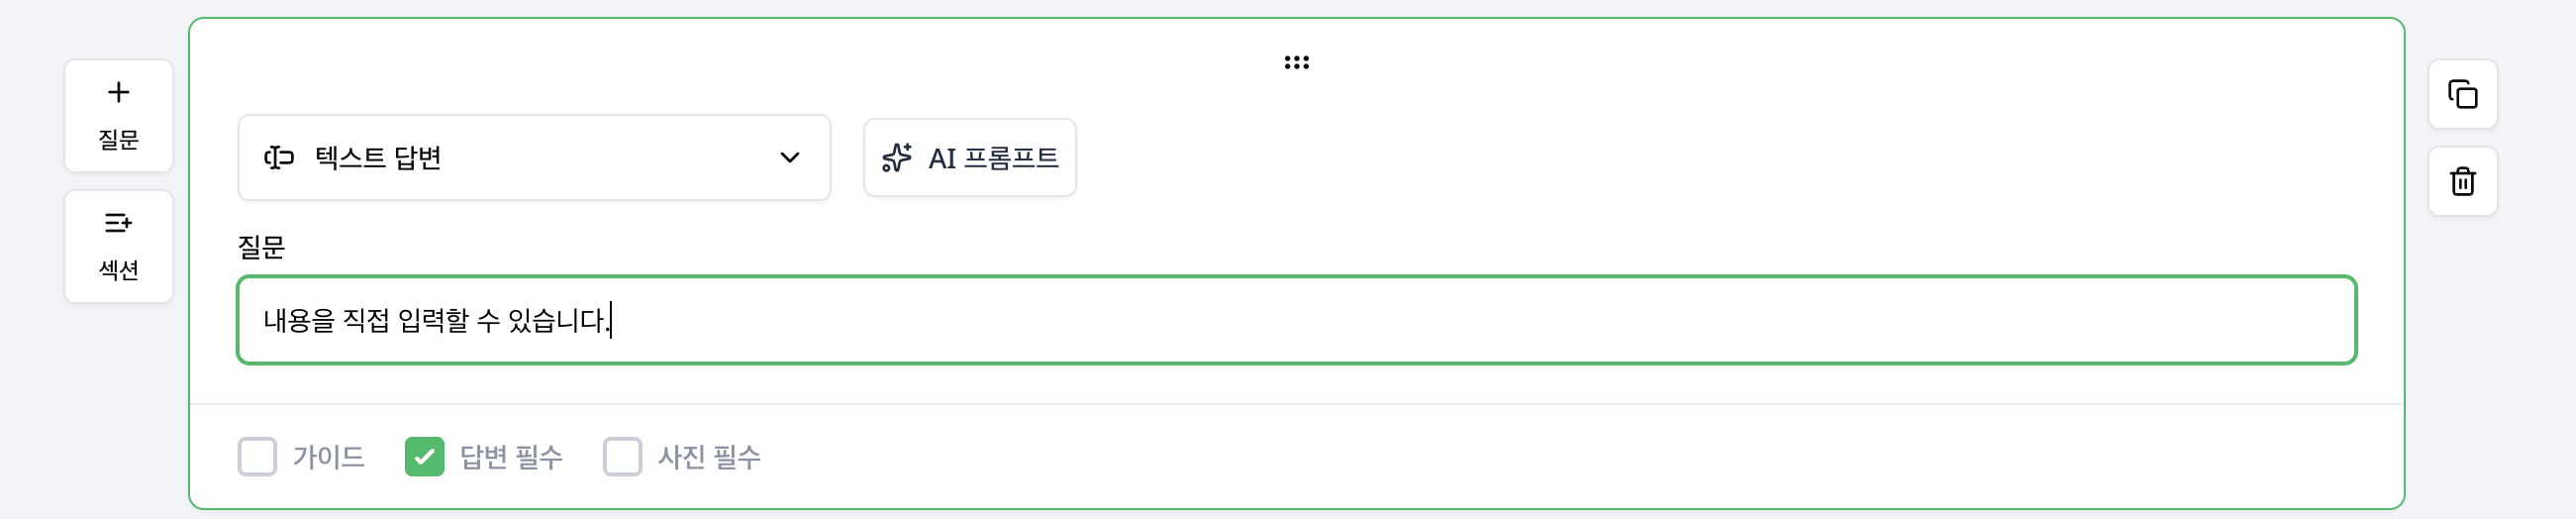
4. Text answer
Use this when the inspector needs to type details directly. It works well for notes, measured values, or follow-up comments.
Common examples:
- Special notes
- Action taken
- Detailed equipment status
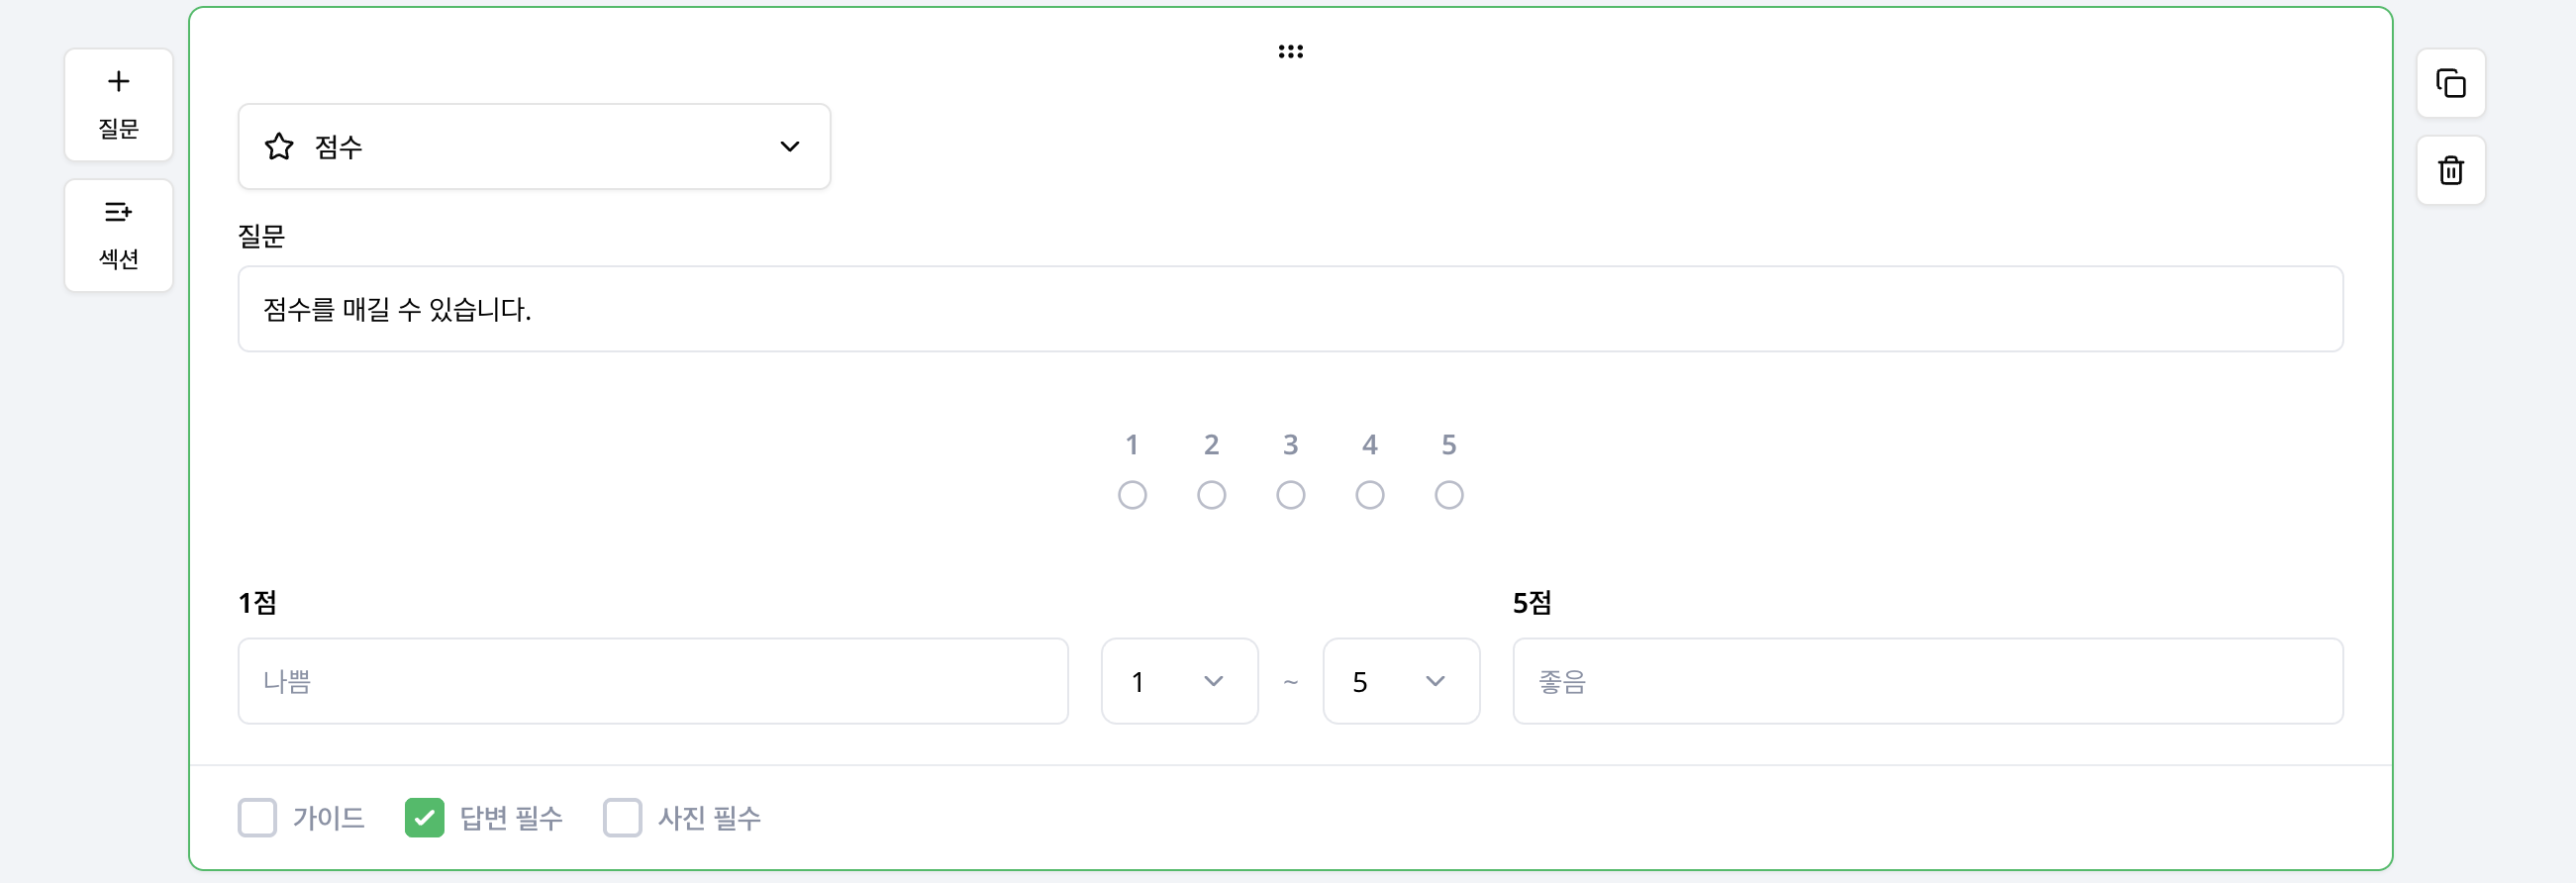
5. Score
Use this when the item should be rated with points. It is especially useful for evaluation-style inspections or quality checks.
Examples:
- Cleanliness score
- Service quality score
- Work completion score
6. Numeric range
Use this for numeric readings such as temperature or pressure where a permitted range matters. Enter the Minimum and Maximum values, or select None for a boundary you do not need.
When a reading falls outside the permitted range, alerts go to the recipients of the facility linked to that inspection schedule. The schedule connects the checklist's limits with the facility's recipient settings.
- Set the permitted range in the checklist question.
- Select the administrators or groups who should receive alerts in the facility's Settings tab.
- Select that facility and checklist together when creating an inspection schedule.
For example, the same temperature checklist can be used in schedules for Facility A and Facility B. An out-of-range reading submitted for Facility A notifies the administrators selected for Facility A. Alerts from Facility B follow Facility B's recipient settings.
Write an inspection guide
Each question can include an inspection guide. Select Guidelines at the bottom of the question to open the input. A clear guide helps inspectors understand what to check and how to judge the result, so answers stay more consistent.
These points are useful in a guide.
- What to inspect
- What counts as a normal condition
- How to judge an abnormal condition
- What kind of photo to take if photo evidence is needed
The guide can include text only, or both text and images.
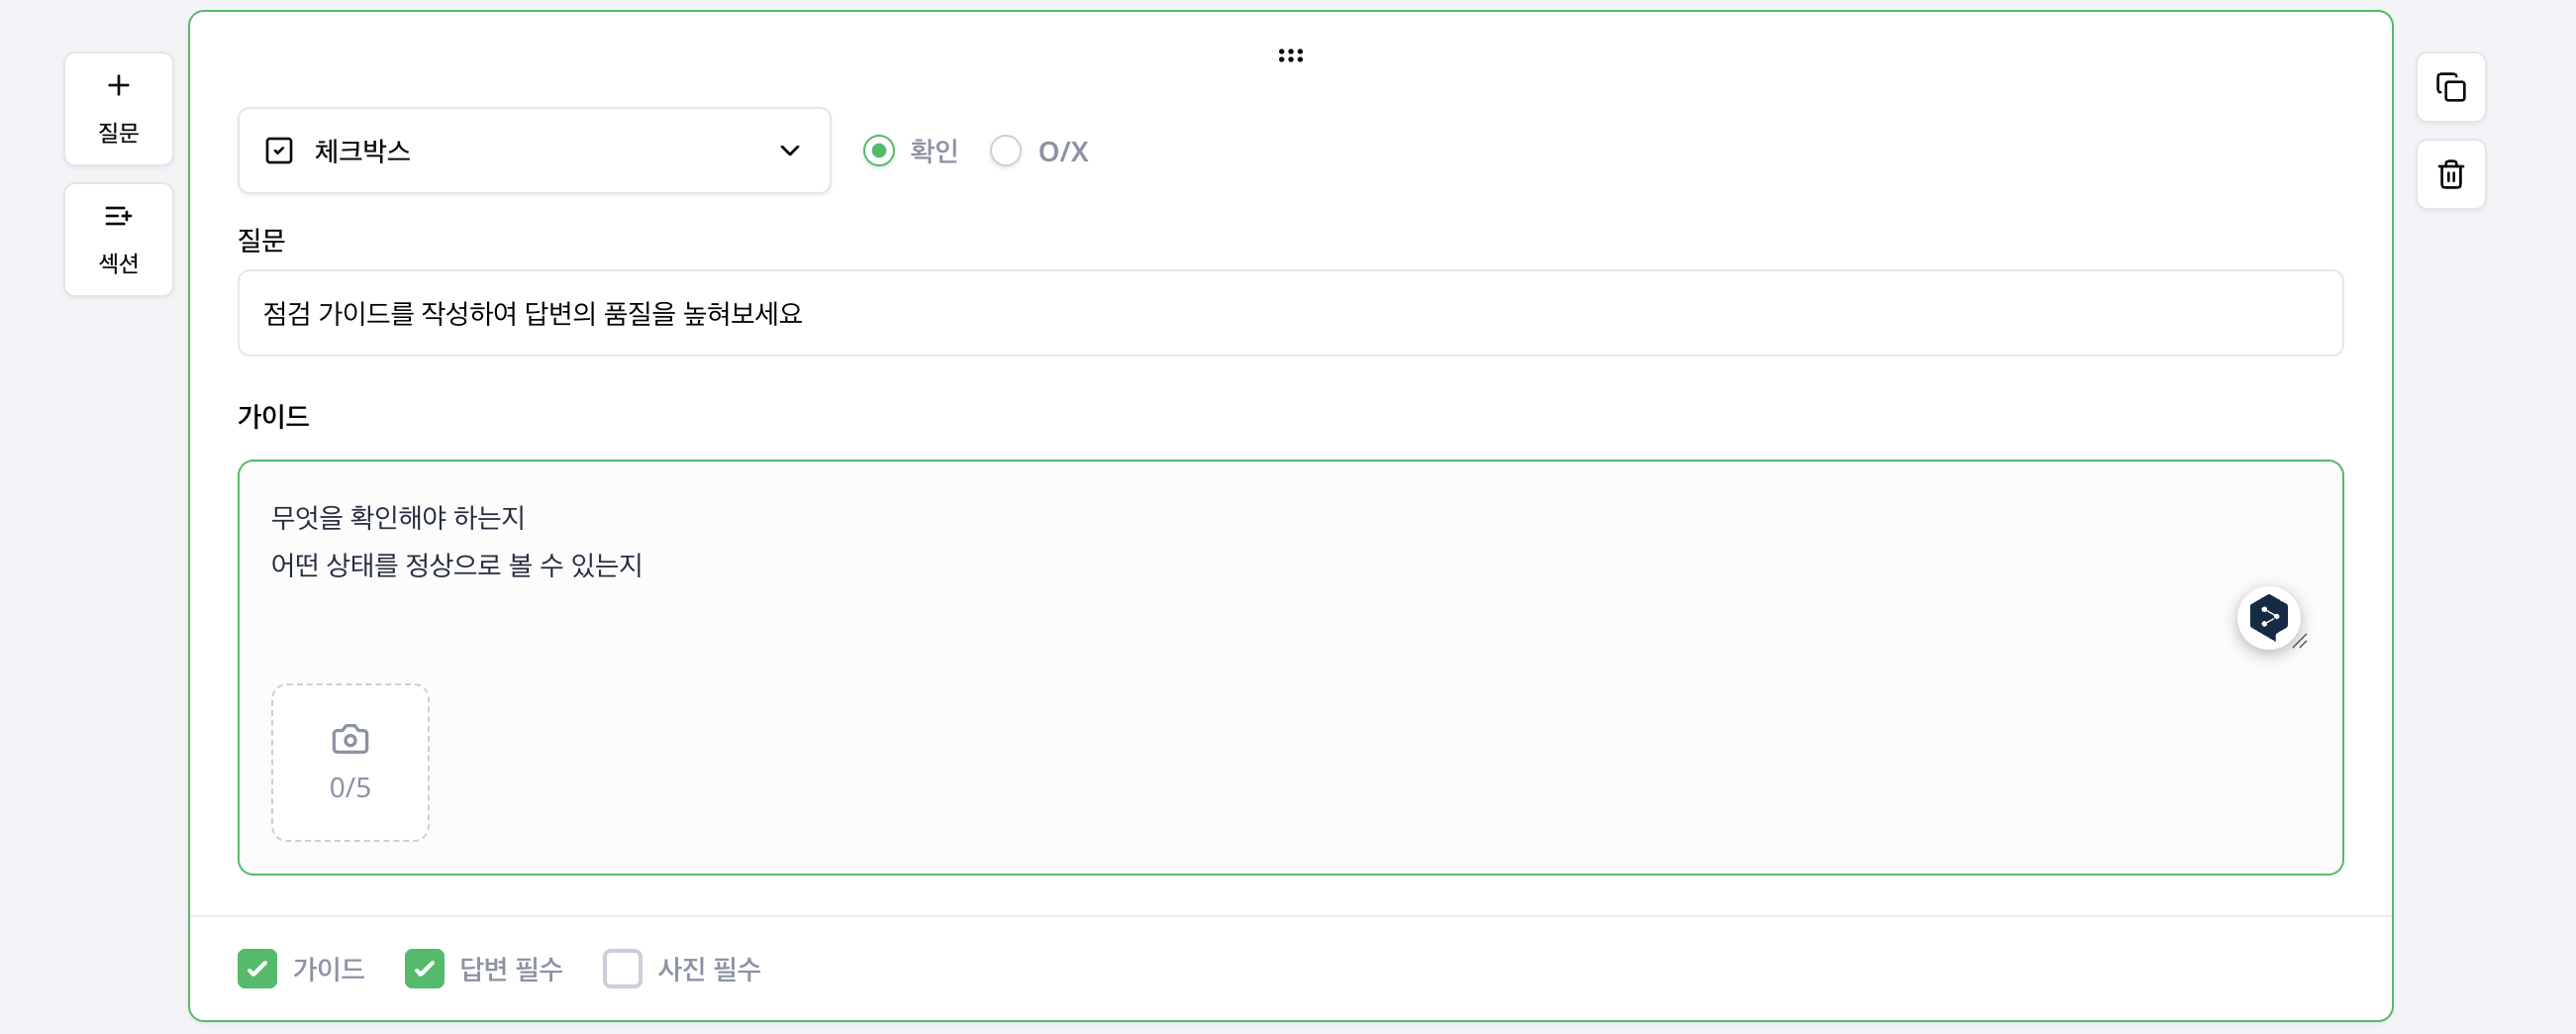
Example:
Check whether the meter stays within the normal range. If a warning light is on, mark it as abnormal and capture a photo that shows the full panel.
Set whether an answer is required
Use Answer required at the bottom of each question to decide whether it must be answered. Marking important items as required helps prevent missing records.
Questions that are often set as required:
- Items tied to compliance or mandatory standards
- Items that would cause rework if skipped
- Items that must appear in the final report
Reference questions or optional notes do not always need to be required.
Set whether photos are required
Use Photo required at the bottom of each question to decide whether a photo must be attached. Turn this on for items that need visual proof from the field.
Photo attachments are especially useful for:
- Visible issues such as damage, contamination, or leaks
- Items that need before-and-after comparison
- Items that require evidence in the final report
For quick confirmation questions, leave Photo required off and turn it on only where it adds value.
A practical structure that reads well
If you want the checklist to feel easy to follow, this order works well.
- Start with checks the inspector should review before inspection begins.
- Place checkbox and choice questions in the middle for on-site inspection work.
- Use text answer questions near the end for details that need explanation.
- Put score questions at the end when evaluation is needed.
- Turn on Photo required only for the questions that really need it.
Final review before saving
Before you save, it is worth checking a few things once more.
- The question order matches the real field workflow
- The section titles make the flow easy to understand
- Each answer type fits the purpose of the question
- Required questions are not missing
- Photo required is turned on only where needed
- The inspection guide is clear enough for an inspector to follow right away
Image placeholder: final review before saving
Save a draft or publish
Save unfinished checklists as drafts and publish when ready for operations. Before publishing, drag questions into the correct order and check required answers and required photos.
Use list actions to view, edit, duplicate or delete a checklist. Duplicate a checklist for similar work, then adjust its name and criteria.
Extract answer information from photos
Supported question types such as Text answer and Numeric Range offer AI auto-fill. Select it and describe what to read from the photo, such as a specific meter reading.
This setting is separate from AI checklist generation, which creates drafts from documents. Review the question's photo requirements and extraction instructions together before field use.